With the amount of amazing food photos that we look at on a daily basis, we sometimes question whether we still eat with our mouths or do we eat with our eyes? While scientists may tell you otherwise, we’re pretty sure the better food looks the better it tastes.
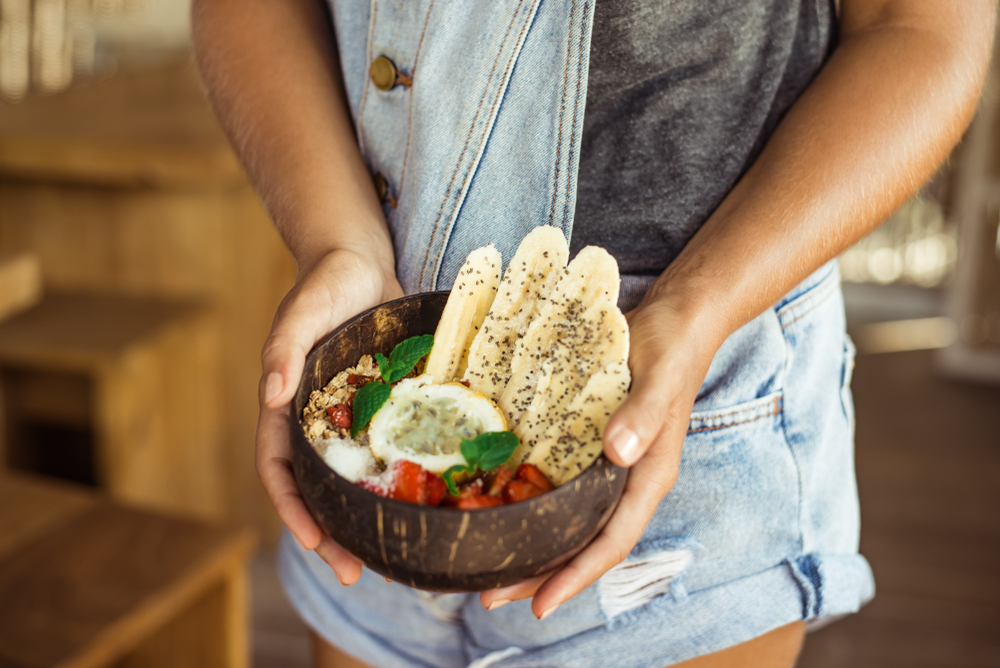
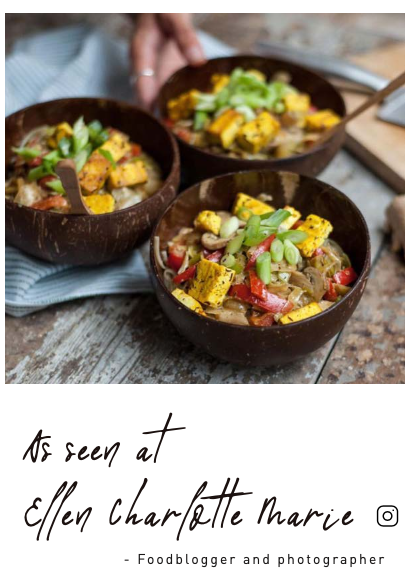
One of the things people love about our Coconut Bowls, is that they’re aesthetically pleasing and help make their food look (and taste) better. We also have more than 300 cafes and restaurants from over 25 countries use our bowls to serve their food – because in this day and age, when their food looks attractive and beautiful – their customers take photos, and they show their friends.
Taking great photos requires great skill, but it’s something you can master at home with these 10 key tips.
You’ll also need some equipment, whether that’s a professional camera, expensive lenses, tripod or just a regular iPhone or smartphone. What separates incredible photos isn’t the fancy camera, it’s an understanding of how to take a great photo and the confidence to take the photo you have in your mind, with the chosen equipment you have in your hand.
- LIGHTING
Getting your lighting right is the most important thing when taking an appealing food photo. Natural daylight is the best lighting for any foodie photograph.
Natural lighting from behind the food will help make it more vibrant and appealing.
To work with natural daylight that you feel isn’t quite enough – tap the darkest area of the image to bring light to the whole photo, then drag the exposure levels up.
- USE ONLY FRESH INGREDIENTS
Food typically looks it’s best when it is at its peak freshness. You want your leafy greens to be vibrant with no browning, your fruit and veg, should also be ripe and of its desired texture.
Don’t shy away from imperfections though as they can add personality to your photos.
- YOUR OWN PERSONAL STYLE
Great food stylist’s photos are recognisable without their name attached. Choose a style that suits you and make it your own. This could be taking photos all from the one angle, using the same props, structure or scene to adding your trademark (not the TM – but something that you own, for example ours is using a coconut bowl)
- KEEP YOUR STYLING SIMPLE
Take out things you don’t need and remove anything that might be distracting from your dish. Props are great for adding personality and context to your photo, especially when added slightly off-kilter, however if your photo or scene becomes too busy, your dish will get lost.
Raw ingredients make a great garnish and props, as does cutlery and tableware, just remember that less is more though when it comes to styling.
- ADD A HUMAN ELEMENT
Adding a hand to your photo allows you to connect and appeal with viewers, as it shows scale and helps people relate.
Garnishing a dish or holding a spoon or bowl in the photo are a great place to start.
- KEEP YOUR BOWL/PLATE/CUTLERY CLEAN
Leave the imperfections to raw ingredients, the plates and props you use must be 100% clean and flaw free.
- MAKE YOUR FOOD GLOW
Make fruit and vegetables shine by brushing them with olive oil, or mist a salad with water to make it look even fresher.
- ANGLE
Try different angles when shooting your food items to show a different point of view. From directly overhead, tilted from close up and a distance, to capturing the edge of your bowl, props or table etc. Get creative and don’t be afraid to shoot as many photos as you need to find the perfect one.
- FRAMING
Your Instagram photos can be vertical, horizontal or square, and the key to a great photo requires you to know which one you’re shooting for before you even begin. The rule of thirds tends to work best regardless of your choice, so try capturing the main event off centre.
Often the best photos will display only parts of your props or bowl, it’s an effective strategy to use the edge of the photo to only show half or a third of your props.
- TIMING
Food begins to look tired very quickly, so you’ll need to work fast to get the most appealing phot. Ensure you have planned appropriately and have all your props laid out before cooking or plating up your main dish
This doesn’t mean you need to capture everything as soon as you plate up and are ready to serve, create the dish that showcases your own food style.